


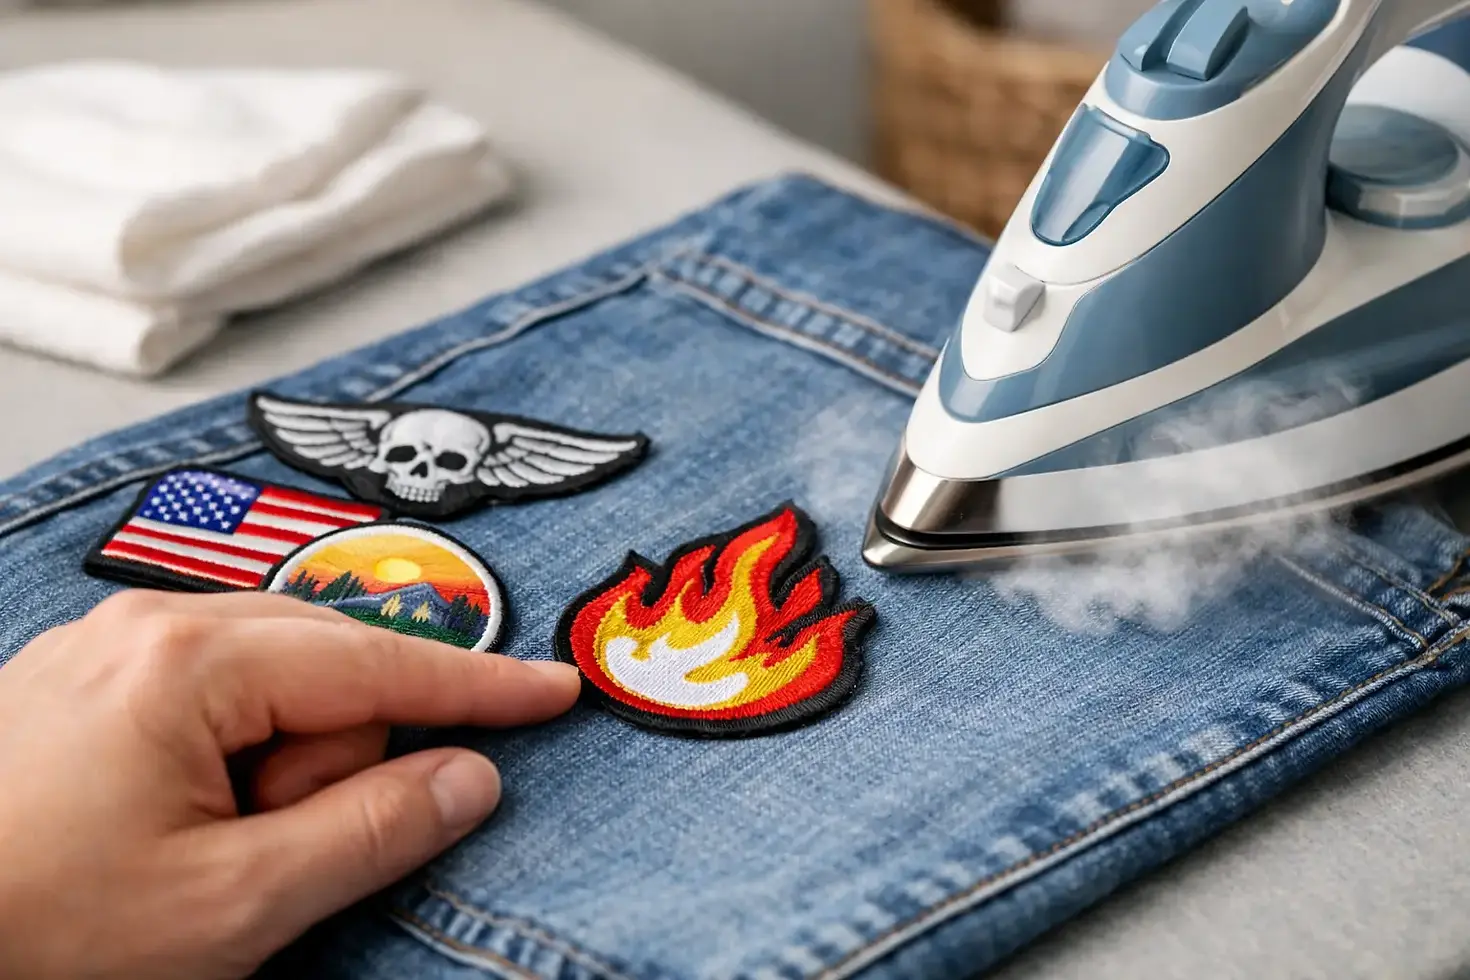
How to Apply Iron on Patches Right
That favorite jacket in the back of your closet does not need a full makeover. Sometimes it just needs one patch in exactly the right spot. If you are wondering how to apply iron on patches so they stay put, look clean, and survive more than one wash, the process is simple - but the details matter.
Iron-on patches feel easy because they are easy, at least on the right fabric with the right heat. Where people run into trouble is usually one of three things: fabric choice, not enough pressure, or moving too fast. A great patch can end up peeling at the corners if the adhesive never fully bonds. The good news is that this is fixable, and once you know the method, it becomes a quick customization job for jackets, totes, jeans, hats, and costume pieces.
How to apply iron on patches step by step
Start with a clean, dry item. If the fabric has been worn, washed with fabric softener, or has any dust or body oil on it, give it a wash first and skip the softener. Iron-on adhesive sticks best to a smooth, dry surface.
Set your iron to a dry setting with no steam. For most patches, a medium-high cotton setting works well, but the fabric matters more than the patch. Cotton denim and canvas can take more heat. Polyester, nylon, and blends need more caution because they can scorch, shine, or even melt. If you are not sure, test a hidden area first.
Before placing the patch, preheat the fabric for around 10 to 15 seconds. This removes moisture and helps create a better bond. Then place the patch adhesive side down exactly where you want it. Once heat is applied, shifting it around usually makes the result messier, so take a second to check the position.
Put a thin pressing cloth, cotton pillowcase, or piece of baking parchment over the patch. This protects both the embroidery and the fabric. Press the iron down firmly for 20 to 30 seconds. Do not slide the iron around like you are ironing a shirt. You want pressure and direct heat, not movement.
After that first press, turn the garment inside out if possible and heat the back of the patch area for another 20 to 30 seconds. This step helps a lot, especially on thicker fabrics like denim or canvas where the heat needs to travel through the layers.
Let everything cool completely before testing the edges. Warm adhesive can feel loose even when it is still setting. Once cool, check the border. If any edge lifts, cover it again and repeat with a little more pressure.
The best fabrics for iron-on patches
Iron-on patches work best on stable, woven fabrics that can handle heat. Denim is a classic for a reason. It is sturdy, flat, and heat-friendly. Cotton jackets, canvas tote bags, work shirts, and many backpacks also tend to cooperate well.
The trickier fabrics are anything stretchy, fuzzy, coated, waterproof, or heat-sensitive. Fleece, rib knits, rainwear, leather, faux leather, and nylon are not ideal candidates for a standard iron-on backing. You may still be able to attach a patch, but sewing is usually the safer choice there.
If the fabric has texture, the adhesive may only grab the high points instead of the full surface. That means the patch can look attached at first but start peeling later. In those cases, a few hand stitches around the edge are not overkill. They are insurance.
Where people go wrong
The most common mistake is using steam. Steam sounds helpful, but for iron-on adhesive it often gets in the way. You want dry heat.
The next issue is not enough pressure. A hot iron hovering lightly over a patch will not do much. Press hard and hold still. If your ironing board has a lot of padding, you may get better results on a firm table with a folded towel underneath.
Then there is the fabric mismatch problem. If a patch is applied to something slick or synthetic, the adhesive may not bond fully no matter how careful you are. That is not bad technique. That is just the wrong application method for the material.
One more thing: old irons vary. Some run cooler than the dial suggests, while others run very hot. If your patch is not sticking and your fabric can safely take it, slightly more heat or a longer press may solve it.
How to apply iron on patches to different items
Jackets are usually the easiest. Denim and canvas jackets give you a stable surface and enough structure to press properly. Just make sure seams, pockets, or folds are not sitting underneath the patch area, because that can stop the iron from applying even pressure.
Tote bags also work well, especially cotton canvas. Slide a piece of cardboard or a folded towel inside the bag so the heat and adhesive do not pass through to the other side.
Jeans are fine too, but curved areas like knees can be annoying. It is easier to attach patches on flatter sections such as thighs or back pockets. For a heavy-use area, sewing the edges after ironing is smart.
Hoodies and sweatshirts depend on the fabric. A smooth cotton-heavy sweatshirt can work. A stretchy, brushed, or very soft surface is less reliable. If the base fabric flexes more than the patch does, lifting at the corners is more likely over time.
Should you sew after ironing?
Sometimes yes, and that is not a sign the patch failed. It is just a better long-term choice for certain uses.
If the item will be washed often, worn hard, or exposed to friction, stitching around the edge adds security. This is especially helpful for kids' clothing, backpacks, elbows, knees, and costume pieces that get pulled around. Iron-on backing is great for easy placement and quick attachment, but sewing gives the strongest hold.
For decorative pieces on jackets or bags that are not washed constantly, ironing alone is often enough if the fabric and heat were right. It depends on use. Fashion patch, low stress, occasional wear - iron-on may be perfect. Daily-use patch on a heavily handled item - add stitches.
How to fix a patch that will not stick
If a patch lifts right away, start by reheating it properly with a pressing cloth and stronger pressure. Preheat the fabric first if you did not the first time. Then press the front and the back.
If the edges still peel, check the material. A water-resistant coating, a textured weave, or synthetic fibers may be blocking the adhesive. In that case, sewing is the practical fix.
If the patch was washed before the adhesive set fully, or if fabric softener is involved, the bond may be weaker. You can try pressing again, but if the glue has picked up lint or residue, hand stitching may save you more time than trying to force it.
Fabric glue is sometimes suggested as a rescue option. It can work, but it is not always the cleanest solution, and some glues bleed through fabric or stiffen the area. If you care about a neat finish, stitching is usually the safer backup.
Washing and care after application
Give the patch time to settle before washing. Waiting at least 24 hours is a good rule. After that, turn the item inside out and wash on a gentle cycle with cool or warm water rather than high heat.
Air drying is kinder than a hot dryer, especially for embroidered patches with adhesive backing. Heat from dryers can weaken edges over time, particularly on garments that flex a lot. If you do machine dry, keep it on a lower setting.
Do not iron directly on the patch after it is attached unless you are using a pressing cloth. Direct heat on the embroidery thread can flatten texture or create shine, depending on the thread and iron temperature.
How to apply iron on patches for the cleanest look
Placement makes a bigger difference than people think. A patch that is slightly crooked on a chest pocket or off-center on a tote will stand out immediately. Measure if the position matters. Eyeballing works for some layouts, but not all.
Scale matters too. A tiny patch can get lost on the back of a large jacket, while an oversized patch may fight with seams and folds. The best result usually looks intentional, not squeezed into the nearest empty space.
If you are layering multiple patches, attach the largest or most central one first and build outward. That keeps the layout balanced and avoids awkward spacing. This is where handmade customization gets fun - sharp, personal, and a little bold.
A well-applied patch should look like it belongs there, not like an afterthought. Take an extra minute with heat, pressure, and placement, and the finish will show it. That is the whole charm of embroidered pieces - they turn everyday fabric into something that actually says something.
Kommentare